Thursday, December 18, 2014

Amelia's Toddler Room: Update & Project

We left off a few months ago with Amelia's room looking like this. 

She adjusted to her new room just fine...well better than fine. She loved showing it off to everyone. At first she was sleeping in her crib. Pretty quick after moving her in here she was clearly outgrowing her crib. About a month ago we decided to move her up to a twin bed. Luckily for us, this girl handles change really well. She LOVES her new bed and we have not had any issues with the transition. I think she got out of bed once and I asked her to get back in...and she did. Just like that, she has grown up. 

We didn't have a bed frame for her twin. We had planned on buying a universal frame until we could find something we liked. We quickly decided we wanted to make one..as we usually do. For the last month Amelia has been sleeping on her mattress on the floor. A little weird but at least she wont fall out right?? Right now her room is looking a little more lived in. We added a rug, art, curtains (homemade by my mom), and some personal touches. Oh and of course we added her bed.  
She loves showing off her bed. When I got ready to take the pictures she quickly threw in books and put "Beary" to bed. 
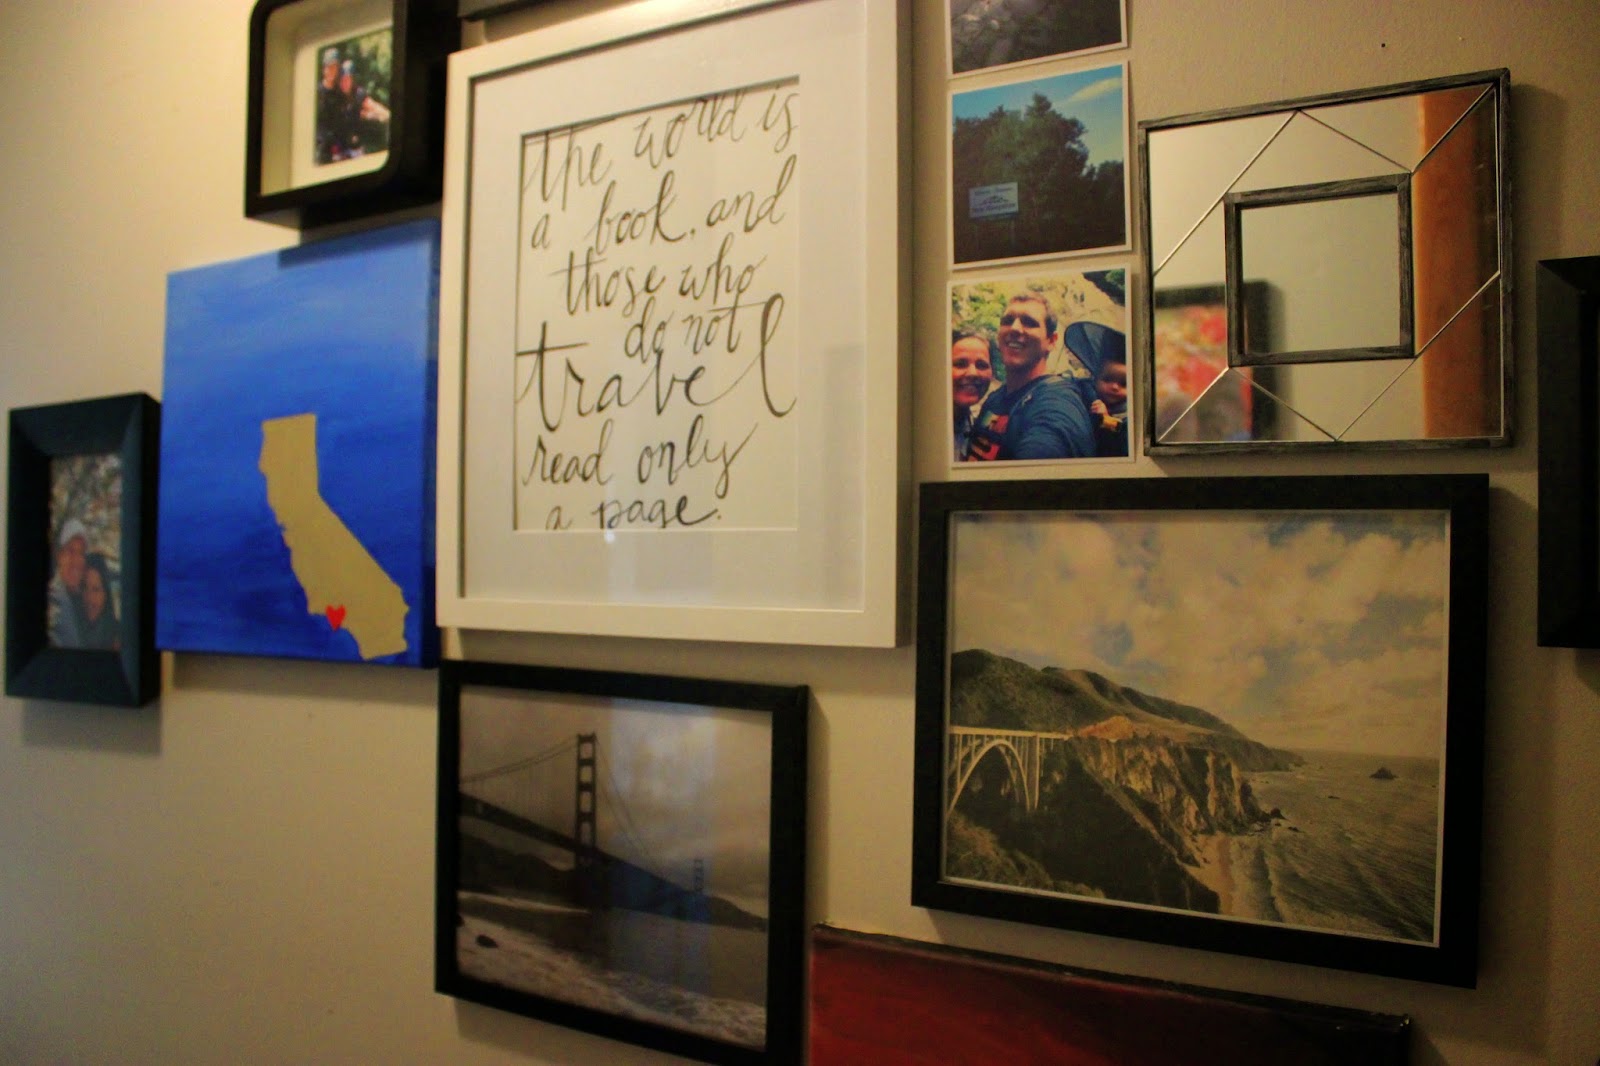
A drawing I did and a frame Amelia painted. 
Amelia's Birthday picture.
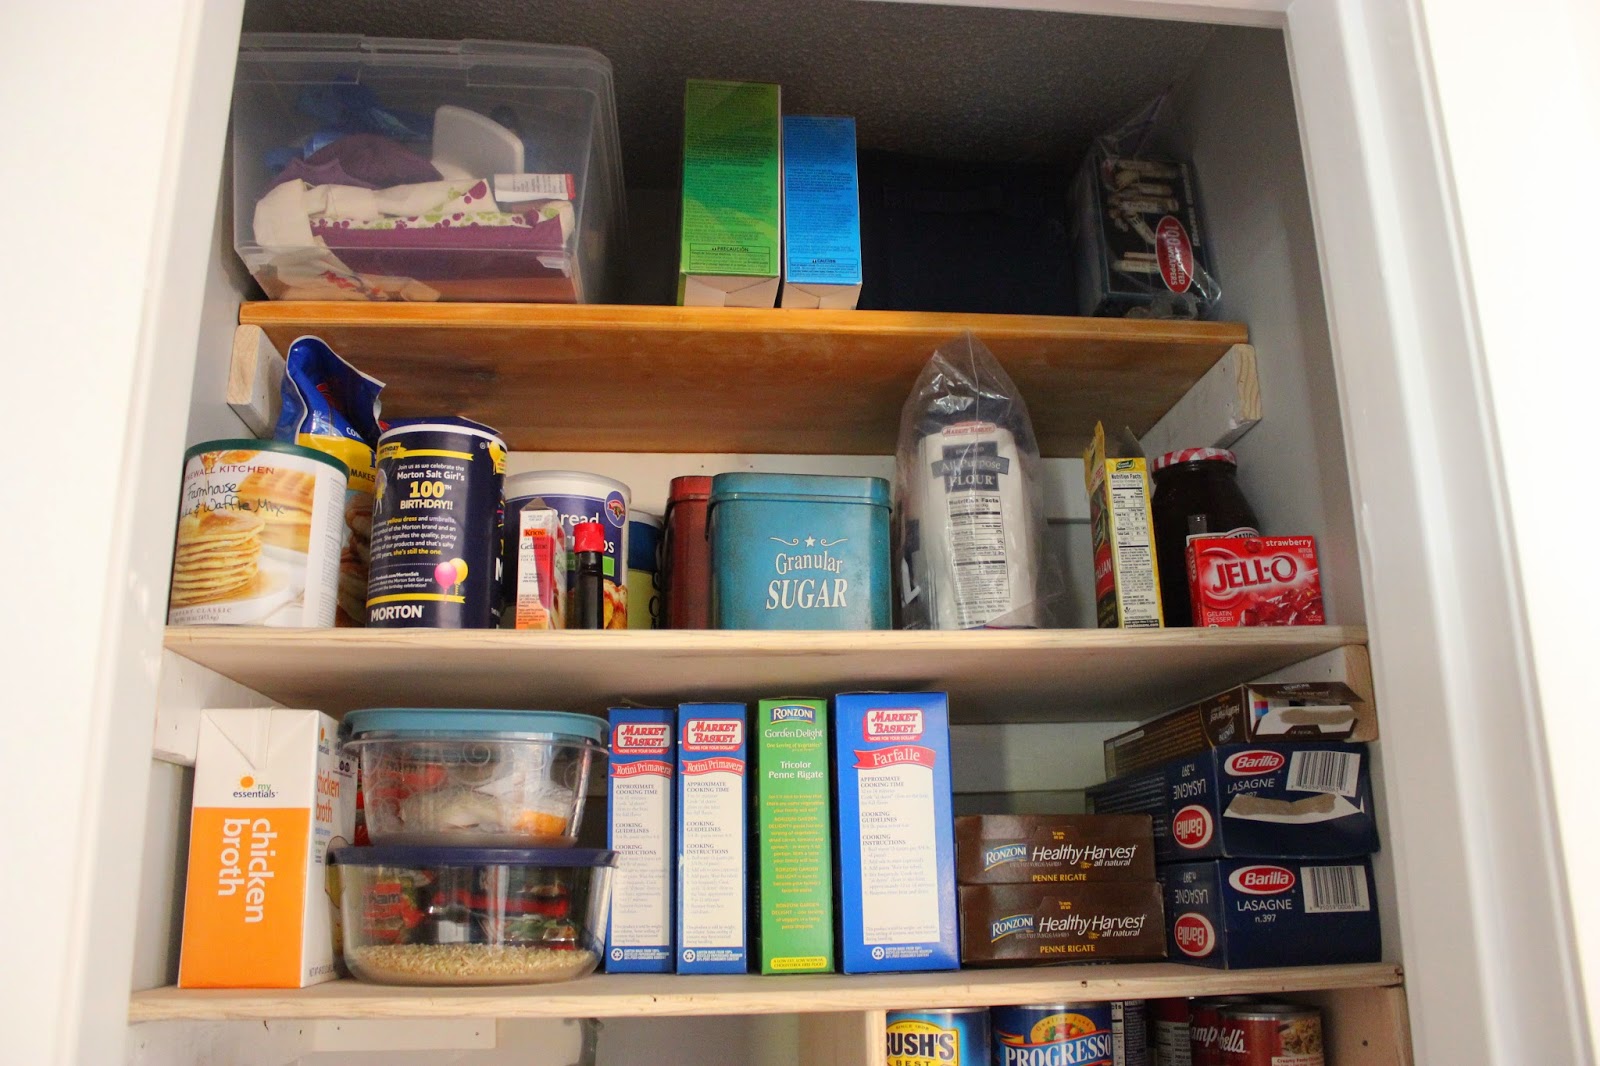
Her chalkboard wall gets a lot of action. I have also hung up some of her art, pictures, and a print of Amelia Island from Yellow Brick Home. This is one of my favorite spots in the house. 

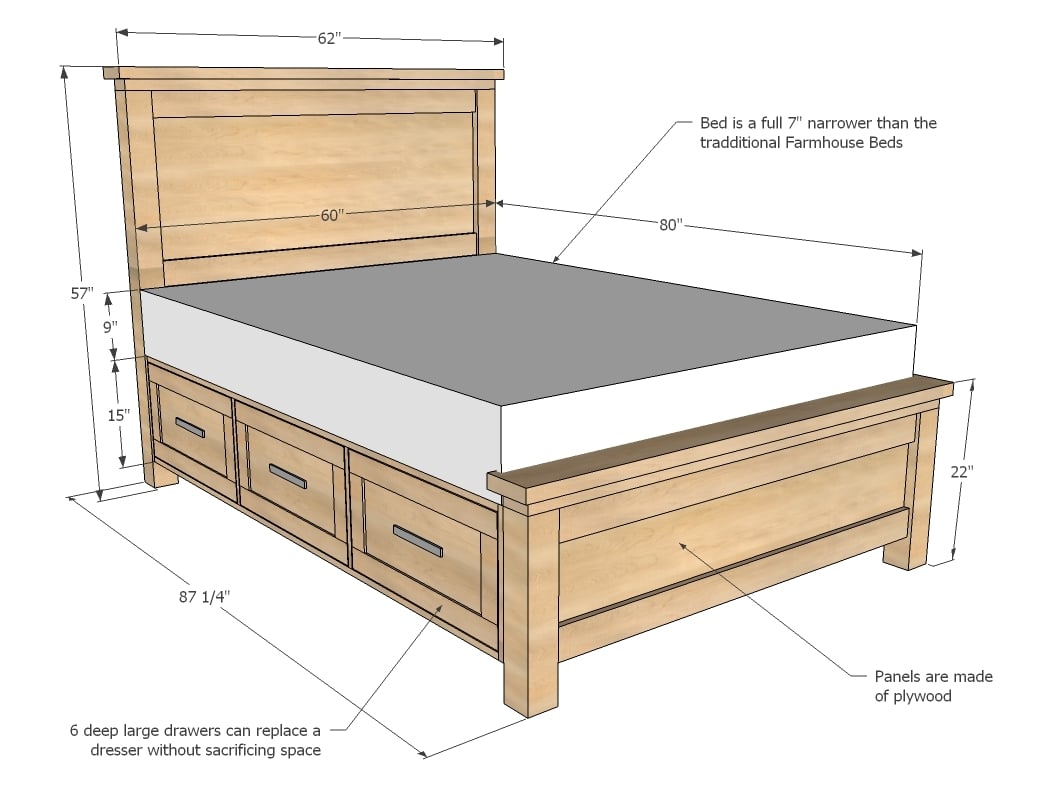
When we decided to build the bed I went straight to Ana White to look for some plans. Ana White is the go to for me because she has plans for nearly everything (for free) from beginner to advanced. Brian is not a beginner but I like to keep things semi-simple. This is the plan that we are going with. 


We are adjusting the frame to fit some of the wood we already had and a twin mattress so it will be a little different. It will be a bit taller and more narrow.
 The room used to have those amazingly large sliding closet doors that I loathe. We are repurposing part of them as the headboard and footboard. 

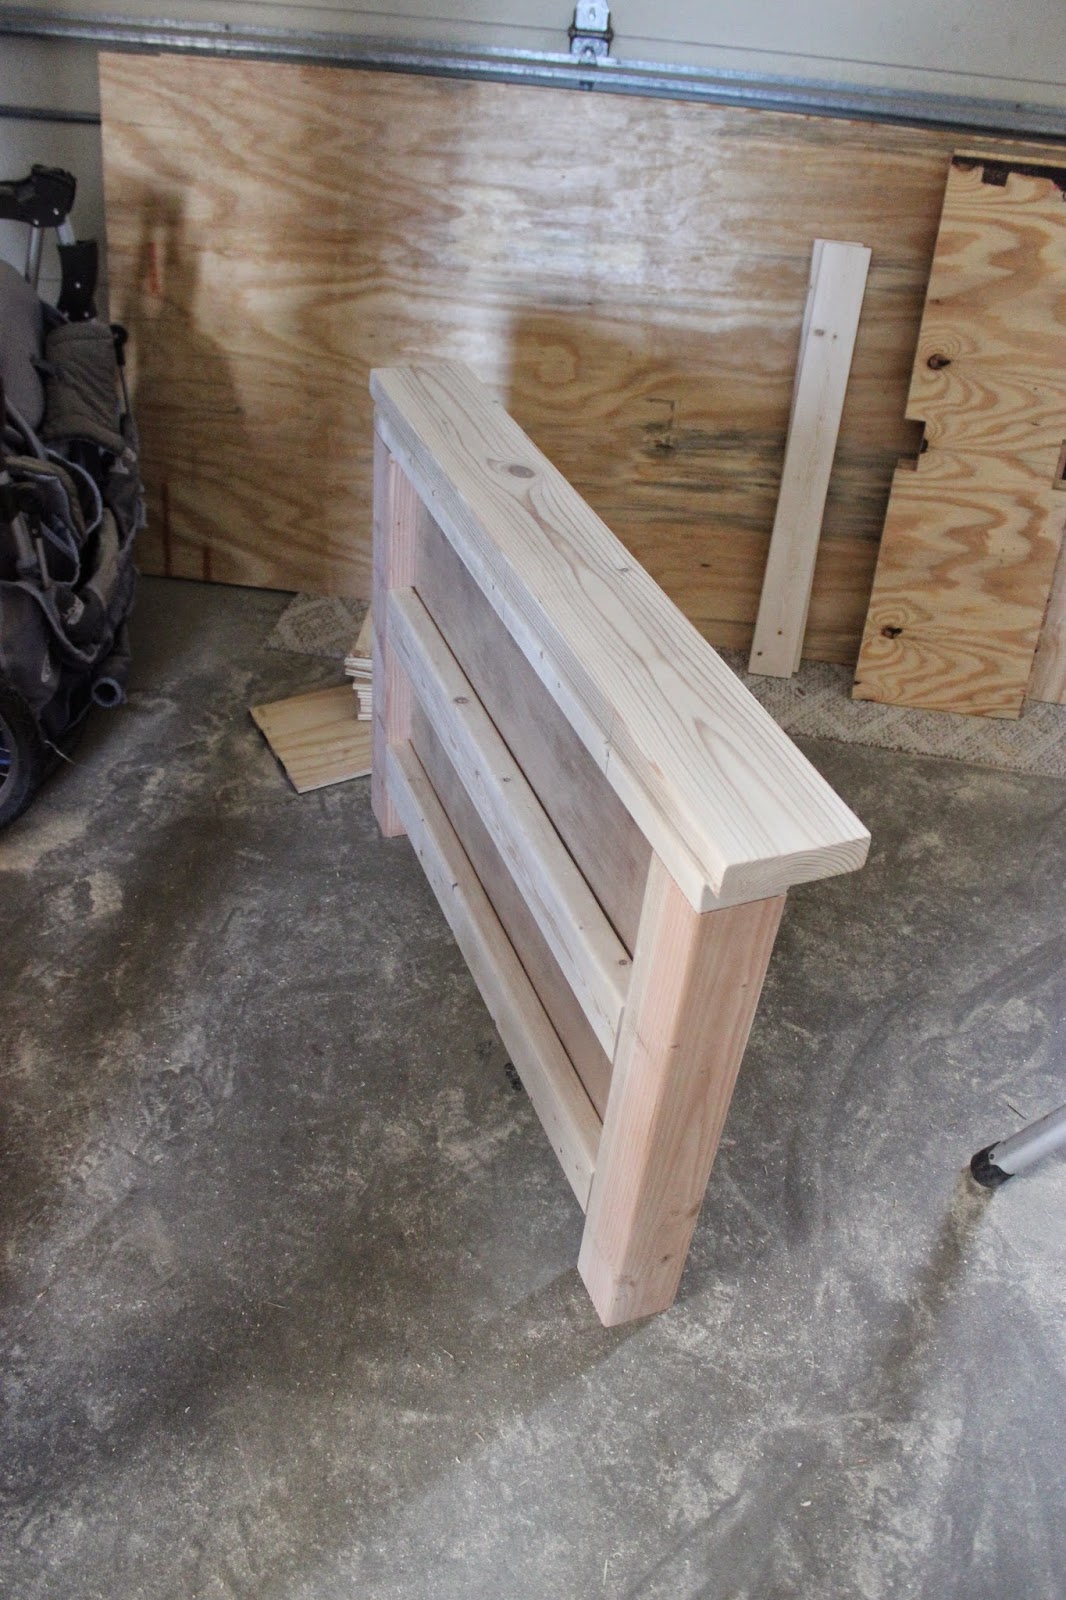
It is coming together perfectly. I am not 100% on what I will do with the finish but I have a couple of ideas. We can be sure that it will be mostly white though. That's a given.

The best part is that the wood (and some work) were a Christmas gift from my parents. We are feeling very blessed and excited!

Happy Thursday!

Monday, November 10, 2014

Pantry!

We have never had a pantry. In all of our apartments and homes that we've lived in...never a pantry. What is that? I have gotten used to using cabinet space but this kitchen was feeling really tight. You can see from the picture of when we moved in that there is hardly any cabinet space let alone a pantry.  
To remedy the no pantry we got a shelving unit from Ikea. It worked for a while but having an open shelving pantry in the kitchen with a toddler wasn't the best idea. 

Enter the coat closet. If you look in the next picture we have a coat closet just around the corner from the kitchen. 

We didn't use it for coats. We used it for our vacuum and broom and a dumping ground for everything else. It was basically one big junk drawer. What a waste of space. First I started with cleaning it and painting it inside and out.  

After I painted it the closet continued to be a junk pile. This is when I brought up the idea of maybe turning it into a pantry. Once I told Brian about the idea it took him no time at all (probably 6 hours over a couple of days) to make our new pantry. 
He also surprised me with hooks outside of the closet for coats :)

What an improvement! I hate wasted space and I am so happy to have an organized functional use for this closet. I would love to take credit but my only involvement was the idea and part of the plan. Brian did such a good job for his first ever custom shelving. You can call him Dean......Kurt Russell in Overboard...anyone.... 

Hooks for the brooms and swiffer.
He made the shelves adjustable (his first time doing that). He also used a router to round the edges of the shelves. 

Amelia is thrilled as well. 

I still have some touch ups to do but the closet is already being put to use so those will come in time. Every project we do makes this house feel more and more like ours. It's projects like this that really make me love DIY work. 

Tuesday, November 4, 2014

It's The Little Things

I love doing large projects but I think that it is the little touches that turn a house into a home. In the past few months we have slowed way down but I have started to do small projects here and there. 

A fireplace mantel is always hard for me to decorate. I don't like things too busy but mantels need to be accessorized. The pictures in the shutter frame are from left to right: Santorini, Huntington Beach, Yellowstone. The pictures in the smaller frames are: Brian and Amelia at the Nubble light house and Brian surfing in Santa Cruz. 
 I added a jar (I loooove glass jars) to the mantel to collect shells from our beach trips. We usually hit the beach once a week and Amelia loves collecting rocks and shells. Occasionally a shell will find its way home and they have been landing in our jar. We even have some shells from Hawaii, California, and North Carolina in there. 
We also made some small changes in our entryway. I'll give you a little before photo to remind you of where we started. 
We changed the bulb on the light fixture. Eventually we want to replace this all together but it is definitely an upgrade. 
We also added a little art to the walls. We hung my painting above the door (it fit perfectly) and we also hung a couple of pieces in the stairway.
I was always struggling with what to do on this wall. It is such a large odd wall. As I was going through my frames I found these 3 11X14's that I have had forever. I also do some sketching or writing in a sketchbook from time to time. I pulled out a couple of sketches, put them in the frames, and there you have it. Simple and cheap, my favorite. The side pieces were inspired by some prints I liked on Pinterest. The piece in the middle is the lyrics to our wedding songs (better together & angel by Jack Johnson) written out.

One of these days I will spring for some art but we aren't quite there yet. In the meantime our little touches are homemade but very personal.

ps. We are working on turning our coat closet into a pantry right now. Wish us luck! 

Monday, October 27, 2014

2 Down, 9 To Go: Painting Interior Doors

I have been MIA from house projects lately. Apparently newborns and toddlers take up quite a bit of time. I am now getting back into project mode. I have a long list of things to get done before the end of the year and if I get half of my list done I will call that a success. 

This week I dusted off my angle brush, grabbed my trusty white paint, and got to work. I have decided that it is the time to paint all the doors...and I mean ALL the doors. Eleven doors total. Just like the trim, all the doors in our house are an orange oak color. I plan on slowly painting the doorways and doors a nice bright white. I know I know...what a surprise. White does wonders. It looks so clean and brings in lots of light. 

I don't have the best before pictures but these will give you an idea of what we were working with. 
Looking down the hallway.

The picture below was after we painted the walls, trim, ceilings, and doorbell.

Our progress pictures are below. I have started in the hallway and painted 2 out of the 5 doors. 

I can't wait to see the entire hallway finished. I think it looks significantly better. I used 2 coats of Kilz No-VOC primer and 2 coats of a low VOC semi gloss white. I used an angle brush on the trim and a roller on the doors. I made the mistake of painting under the hinges on the first door. It makes the door a little tight. I may have to go back and fix up the first door. The second door I broke the doorknob and locked myself inside the room (Brian had to rescue me). I figure by the time I get to the last door I will be an expert. 

I also gave the hardware a little face lift. I had some Rustoleum ORB (oil rubbed bronze) in our paint storage and I gave it a try. I love the way they turned out. 
Just an idea of how I painted the hardware. I poked the screws into the cardboard so they would stay upright. Two light coats was plenty of coverage.

As you can see in the pictures above I have started to hang up stuff around the house as well. I've decided to have a floor to ceiling gallery in the hallway. I didn't want it to be entirely random so I picked a travel theme for the hallway gallery. I started with a drawing I did of one of my favorite quotes by St. Augustine, "The world is a book and those who do not travel read only a page". Once that was framed and centered I have been building on that. The pictures and paintings are places that we have travelled or lived.  

 I really look forward to building on this wall.  

Hopefully it won't be months before my next update. If anyone has advice on how to manage 2 kids, play dates, walking the dog, cleaning the house, laundry, exercising, cooking dinner, AND diy work let me know. I am over my head most days so those two doors took me 4 days, a messy house and a lot of diet coke to complete. 

Happy Monday! 

Monday, August 18, 2014

Amelia's Toddler Room: Progress

We have been busy trying to get Amelia's toddler room ready for her 2nd birthday this month. Last time we checked in on Amelia's room she was sleeping in a very plain nursery with zero decoration. I shared my plans in this post. Here is a look back at her first room in our Maine house. 

Pretty boring. 

We decided to move her into another bedroom with a larger closet and we will be moving Colette into this nursery eventually. 

The room we are moving Amelia into used to serve as the master bedroom for the person who lived here before us. We have discovered as the temperature went up that we could smell a little bit of a smoke odor, mostly in this room. She clearly was a smoker based on the yellowing ceiling and lingering odor. Here are some before pictures after we painted the ceiling. 

The closet is where most of the smoke smell hung out. We got some lava rocks and those helped with the odor but we decided to just hit this room with tons of paint.

First we primed EVERYTHING. The walls got one coat and the trim got two. 

After everything was primed and ready I tackled the edging and trim and Brian tackled the walls.


After a short break to have a baby...we finally have some progress to share. We still have a lot to do, namely a bed, but I love how it is coming together.
We found the dresser last week at Habitat Restore (my favorite) and it fits perfectly.  
The blank wall is where her bed will be. I also plan on hanging some family pictures in some of the empty space. 
The black walls behind the door are, of course, chalkboard walls. It still needs to be conditioned and a little chalk holder and it will be ready for her creativity.

We put a mirror in her closet because she loves checking herself out (typical girl) and she also loves dancing in front of it. Eventually we will add some shelving in the closet and make it more functional. 


She loves having her books on display and I think they make the best decoration. I can't wait to change them out for the holidays. Also I am loving those kid lit books, so cute!

We still need to sew and hang the curtains, buy a twin bed, buy a rug, and find end tables and lamps. I do love the progress we've made so far. Amelia is the sweetest and it feels great to finally be able to give her a space that reflects her personality.

Happy Monday!