Monday, February 29, 2016

New Kitchen Floor


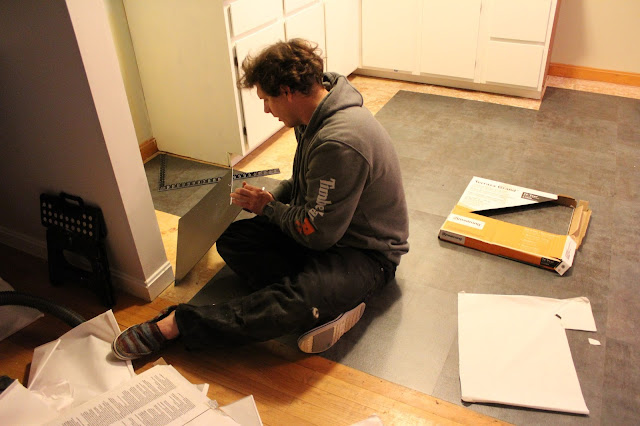
Friday night we went out and picked up some new flooring. Saturday morning I left to get donuts and returned to our kitchen floors being ripped up. No joke I was gone for 3 minutes (the donuts are reeeallly close). Brian moves fast and seems to never have second thoughts. Our new floor is in and I'm still have second thoughts. And thirds. And forths. Lucky for me I have Brian, or else nothing would get done around here. 

Our ultimate goal for our main floor is to refinish the wood and when we do that we want to continue it into the kitchen. We are years away from that but our floors desperately needed a spruce. So for our phase one floors we didn't want to spend a lot of money, and with a big dog and kids we wanted something easy to clean that doesn't damage easy. We ended up getting vinyl tiles for our interim floors. It is a HUGE change for the better. It feels super clean. I will say dark floor with a light haired shedy dog wasn't the best idea buuuuut, now I can see when its dirty so that helps. Also taking out floors that have years of grime (from a non working oven hood and a smoker) has made it feel so much better. 

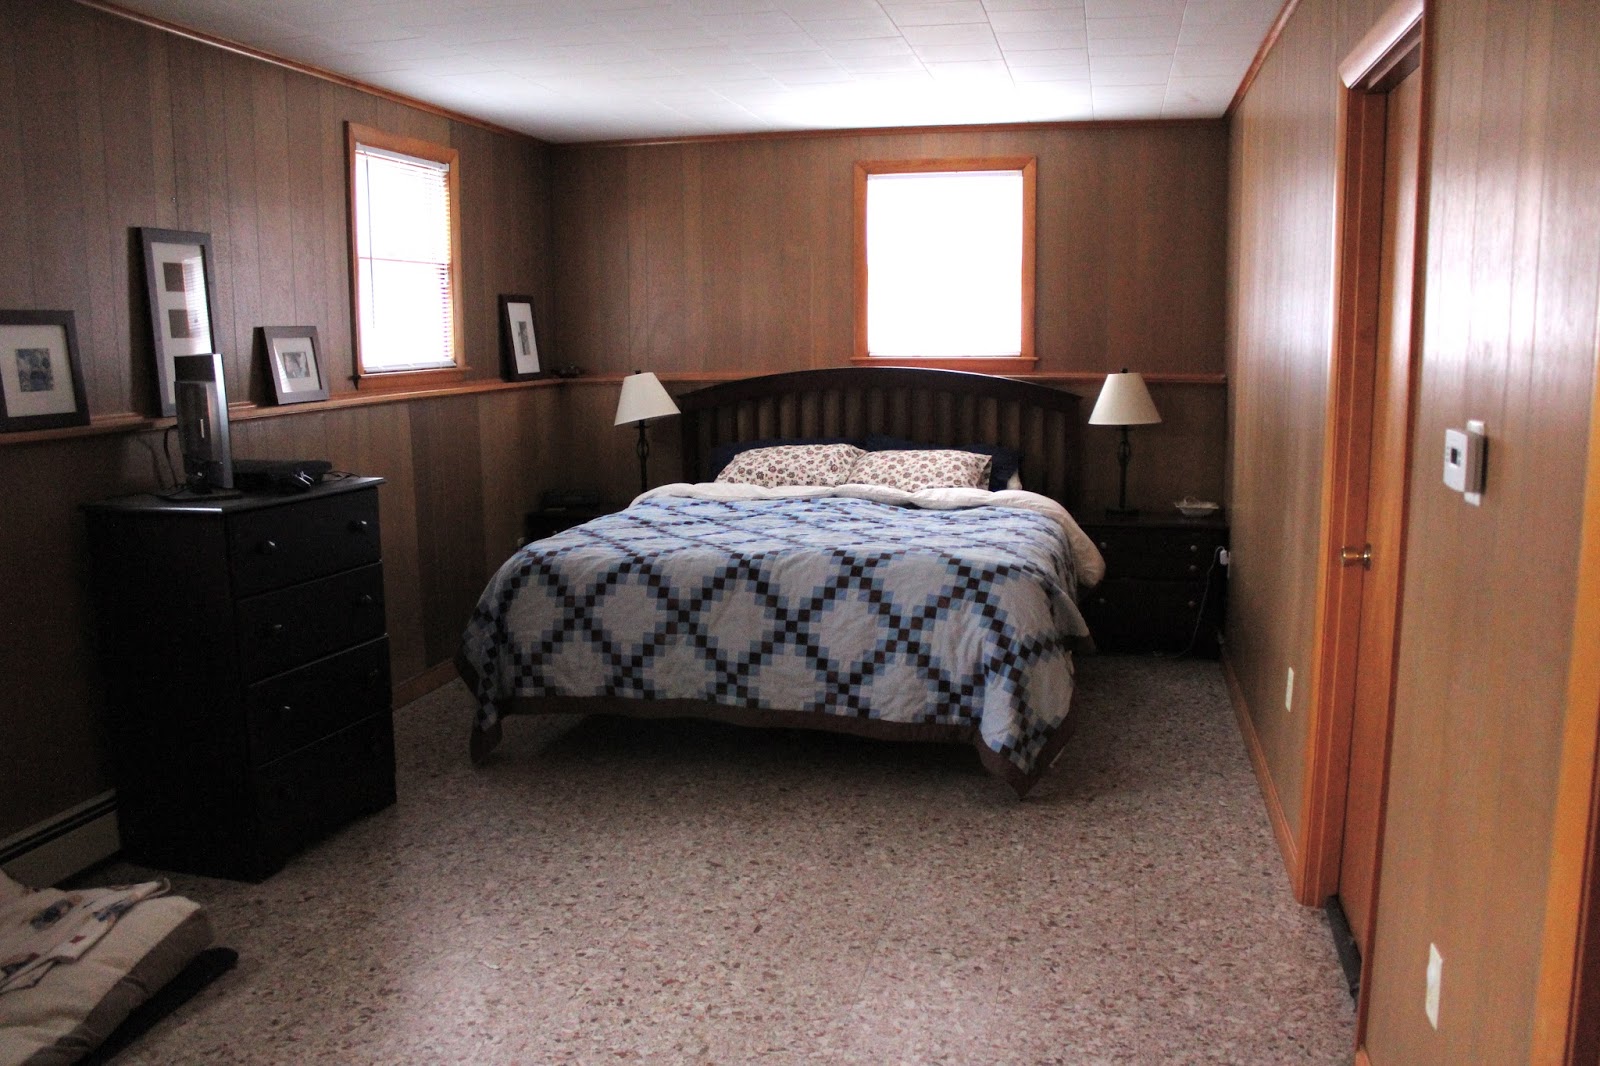
Let's take a look back to where we started. Here is a picture from our walk through. Look at how little Amelia was!!!!

Side note: I had a panic attack when we started ripping the floors out. What about asbestos?? But then we did research (which all checked out) and I remembered I had asked our inspector and he said the kitchen floors were fine but our downstairs vinyl tiles definitely will have asbestos so when we do anything down there either hire someone or just cover them up. Freak out over. 

To be totally safe though Brian did the demo with fans going and windows open and I took the girls upstairs and closed the door. Also he didn't do any sanding and chipped away at the pieces and then vacuumed up all the dust and debris with a shop vac...cause i'm paranoid.  
Sub floors. The funny thing is I said to Brian...hey lets just stain the subfloor...he didn't go for it. Also there is evidence of my secret shame...I didn't paint behind the oven. 
 New floor: Subfloor: Old floor
 Here we are again, day 1...


And.....Walaaaa! 


 Another view. From our walk through to now. 


I am going to admit that these floors are not entirely my style. I am more of a beat up wood floors or maybe a herringbone carrara tile. Brian is that same, but until phase 2 Camp Yoast remodel this will do just fine. It really looks sooooo much better and cleaner! It looks so good in fact all I can see are those dingy baseboard heaters, bad lighting, and yellow sink...In home improvement the lists never get shorter. 

Happy Monday!

Friday, February 26, 2016

New Family Message Board

For the last 8 years we have had our little message board hanging in our various homes. This is always the landing place for bills to be paid, misc. paperwork, and most importantly our sunglasses. Well after 8 years it was on it's last leg. Seriously it was a mess and a gigantic eyesore.  
After perusing Pinterest for a while and finding 500 solutions to this I had to really think about what I wanted. I wanted a designated space for pending bills, my checkbook, and my sunglasses. I just needed a simple space. Really that's it. Oh and maybe a few pictures. I was sitting in the car dealership waiting room the other day and found my inspiration. Odd place I know but they had an entire wall of cork board. There it was. I needed something simple that can be changed as needed. It can also be custom to the space and my needs. I went to the store and spent around $10 on square cork boards and wooden pushpins. It took me around 30 minutes to trim the squares to fit the space, put the sticky tape on, and tack some things up. Done.  A new family message board after 8 years.
I didn't really style it. I just threw up a bunch of stuff for the picture. I found a couple of metal wall vases that are perfect for bills, stamps, and checkbooks. So simple and easy yet exactly what I was looking for. Who knew I would find my inspiration in a car dealership waiting room. Also I had to hang a frame because there is an outlet there. Yes an outlet... 

I think my favorite part was putting these two pictures together (below). From one of our first dates to Mesa falls (Summer '06) to last summer in the same spot. Feels like yesterday. 
While this isn't the most exciting or difficult update, I am stoked. Every little update make me love our home that much more. 

Side note: I need to put some finishing nails in the cork board because if you hang something semi heavy the tape will not hold. I found that out around midnight last night...

Happy Weekend!


ps// Lowes' is having a flooring sale this weekend! Brian is picking up our kitchen flooring on the way home from work today. I guess this is what we will be doing this weekend. 

Wednesday, February 24, 2016

Bedroom Shoe Bench

When Brian and I started talking about our ideas for the master bedroom we both said we wanted a shoe bench for the foot of the bed. I don't know if anyone else calls it this but we wanted a spot to sit to put on our shoes. Our room is super long and skinny so we have plenty of room for a nice sized seat at the end of the bed. 
Originally we both wanted an old steamer trunk (with a flat top). I found a potential trunk but I can't pick it up until May (it's in California) so in the meantime we decided to DIY one.

I was painting a little bench the girls have in their playroom and thought it would look really good a little bigger. I threw it out there to Brian and after we picked up some wood Brian finished it in a ridiculously short amount of time. No joke. I would love to be the one that builds things but he is so fast is just makes sense. So 30 seconds after asking I had my bench!

The bench measures 4' long, (almost)2'deep, and 18" tall. I think the wood cost us around $30 total. 
After Brian finished I got to work with a little stain and top coat. I used what I already had which is dark walnut (miniwax). I wanted it to be pretty light and a little uneven so I rubbed it on with a cloth. Normally I would paint it on and then rub it off to get a uniform look. Since the room is so crisp and white I wanted a little character to come in with the bench. 
I used a clear coat of polyurethane over the top. I sanded it down with a super fine steel wool once that was dry just to rough it up a little. I LOVE it! I have entirely forgotten about the potential steamer trunk, I am all about this bench.    
There is a little sneak peek of my newly painted bedroom furniture in there too. 
I looked at a few comps online just to get an idea of how much we saved by DIYing. Similar benches sell from $200-$600.  We spent around $30 on the wood and we already had all the supplies to build and finish it. 

The room is coming together just how I imagined it. Also when you start to paint and fix things up it really emphasizes other features like our beautiful floors. Rug comes in on Tuesday!!

Happy Wednesday!


Monday, February 22, 2016

Painting Kitchen Cabinets

One of the bigger projects I have done in our house is painting our kitchen cabinets. I've painted cabinets before but never this many and never this much of a color change. This was also my first time working with the Advance line by Benjamin Moore. The paint is specific for cabinets and furniture. It really is the closest I have seen to a factory finish when it comes to paint. The only downside is that it has a 16 hour re-coat time. Thats right 16 hours. You also can't rehang your cabinets fronts for 72 hours. I had to put up a baby gate around the entire kitchen for 2 weeks. The end result is definitely worth it though. 

Here is a look back on the kitchen when we did our first walk through.  

After we painted the kitchen/dining area and started ripping off the linoleum backsplash. 
After ripping out the non-working oven hood and replacing it with an in wall exhaust (temporarily), taking off the linoleum backsplash (and painting), hanging our pots and knives, and loads of paint....here are the progress shots!
The steps for painting the cabinets:
1. Clean inside and out. 
2. Remove all doors and drawers. (label hardware)
3. Tape (if you have shaky hands like me)
4. Liquid deglosser (I chose this instead of sanding)
5. Primer x2 (I used a 4 inch foam roller)
6. Benjamin Moore Simply White Advance x2
7. Lightly sanded in between coats with a fine sanding block. 
8. Wait 3 days and rehang cabinet fronts.
9. Sleep cause you're done. 

Need to move the knives down and sand and paint over the repaired spots. Sometimes projects stay half finished for far too long. 
It was hard work but totally doable. Such an easy and inexpensive upgrade. 

Next up, hardware. We actually bought some hardware 3 months ago and finally marked up the cabinets to install. I'll post about that after we do it. I'm super nervous about that one. 

After the hardware we are planning on the floors. We have been itching to replace the floors since the day we moved in. It is old, ugly, dated, and falling apart. There are spots where it is coming up and ripping. Its really bad. We picked out what we are going to put down and it's all I can think about. 

This is one of the spaces that I would love to start from scratch. One of these days we will. I want to tear it out, rework the floorplan, and most importantly add a dishwasher. Until then I'll keep on improving one paint project at a time. 

Sunday, February 21, 2016

I'm Back!

Last year I did a total of two! blog post for our poor little home blog. I have still been doing the occasional DIY project during our time away from blogging, but I couldn't seem to find the motivation to blog about them. Now that we are hitting out 2 year house-i-versary(today!!!) I have decided to pick it back up. Also in honor of our 2nd year being in our home I have decided to rename the blog. The Golden Peach was named with our Georgia home in mind, but Southern isn't really our style so it didn't really apply anymore. After a ridiculous amount of thinking about it we are going with Camp Yoast. In New England people call their vacation homes their "camps", I LOVE that. We truly feel like our home is the place we want to spend all our free time so it's our camp. 

After that little name change let's get to the reason we're here. The project I have been working on for the last couple of weeks is our master bedroom. In all of our apartments/homes we have never, not once, done anything to our master bedroom. I think because this is a room that most guests and visitors don't go in so it wasn't high on my priority list. The master bedroom in this house was just too sad to ignore. Shield your eyes....here is the before:  

Yikes...I know. Wood paneling, multicolored linoleum, dark furniture, dated bedding, orange trim, etc, etc, etc... 
The door on the left is to our enormous unfinished closet. The door on the right is our pink bathroom. We will tackle those at a later date. 
The room look smaller in pictures than in person. It is a long skinny room measuring about 10x20. 
Excuse the mess on the dresser. Just such a sad dark room.

My vision for this room was light bright and airy. We also have a general beach vibe around our home so I figured that will filter down to our bedroom as well. While Brian was out of town I got to painting. And painting. And painting.
My apologies for the iPhone pictures. My first coast of priming/edging/trim took me 4! hours.
The wood panelling soaked up the paint. I ended up running out of primer halfway through at about 2am.
Recruited some help for the next night.
Two coats of primer and 8 hours later. 
Originally I bought the color Reserve White by Sherwin Williams for the walls. After painting one wall I didn't love it. At all. It was too much white. I ended up taking a little bit of leftover paint from my kitchen (Sea Salt by Sherwin Williams) and doing some mixology until I came up with a color I liked. 
Reserve White is the top right and Sea Salt is the second down on the left. It turned out just how I imagined it. 

After a week of work and a lot of late night I have our progress picture. It is obviously quite the improvement. We picked up a new light quilt, shams, and a bed skirt for the bed. I painted all the brown wood frames we had white and added a little colorful art to the wall. I am LOVING the transformation so far. 


I still have a mile long list until this room is finished but we have been hard at work. We ordered a tan/white area rug yesterday. We get the rug next week and I can't wait for that. I have also painted all the bedroom furniture (ALL OF IT! Two nightstands, two dressers, a mirror, and the headboard) and will have those finished hopefully tonight. Brian built a bench this weekend for the foot of the bed (I love a bench for putting on my shoes). We are on the hunt for a vintage steamer trunk but until we find one a DIY bench is the perfect solution. I also need to paint the doors, update the outlets, new lighting, paint the inside of the windows (saving that for summer), and probably some window treatments. 

It is such a breath of fresh air. I am finding that the effort I put into making this space more inviting has actually been motivating me to wake up and make my bed everyday, keep my room tidier, and spend more time in there.

I am feeling so excited getting back into project mode. I have some finished projects lined up to share and plenty of project in the works. 

Happy Sunday!