Tuesday, April 23, 2013

We Have Chairs!

We hit the thrift store jackpot this weekend! On Saturday we decided do some thrift store shopping to look for some chairs for the new dining table. We knew that we wanted to get semi-matching chairs and paint them all white. We walked into Goodwill (our first stop) and ran right in to six chairs that were perfect! Four of the chairs were matching and already white and the other two chairs are very close in style and just need a little paint and they will fit right it. We got all six chairs for just under $40! We'll call that a successful thrift trip! Check them out below...


Monday, April 22, 2013

Crib Painting & Nursery Plans

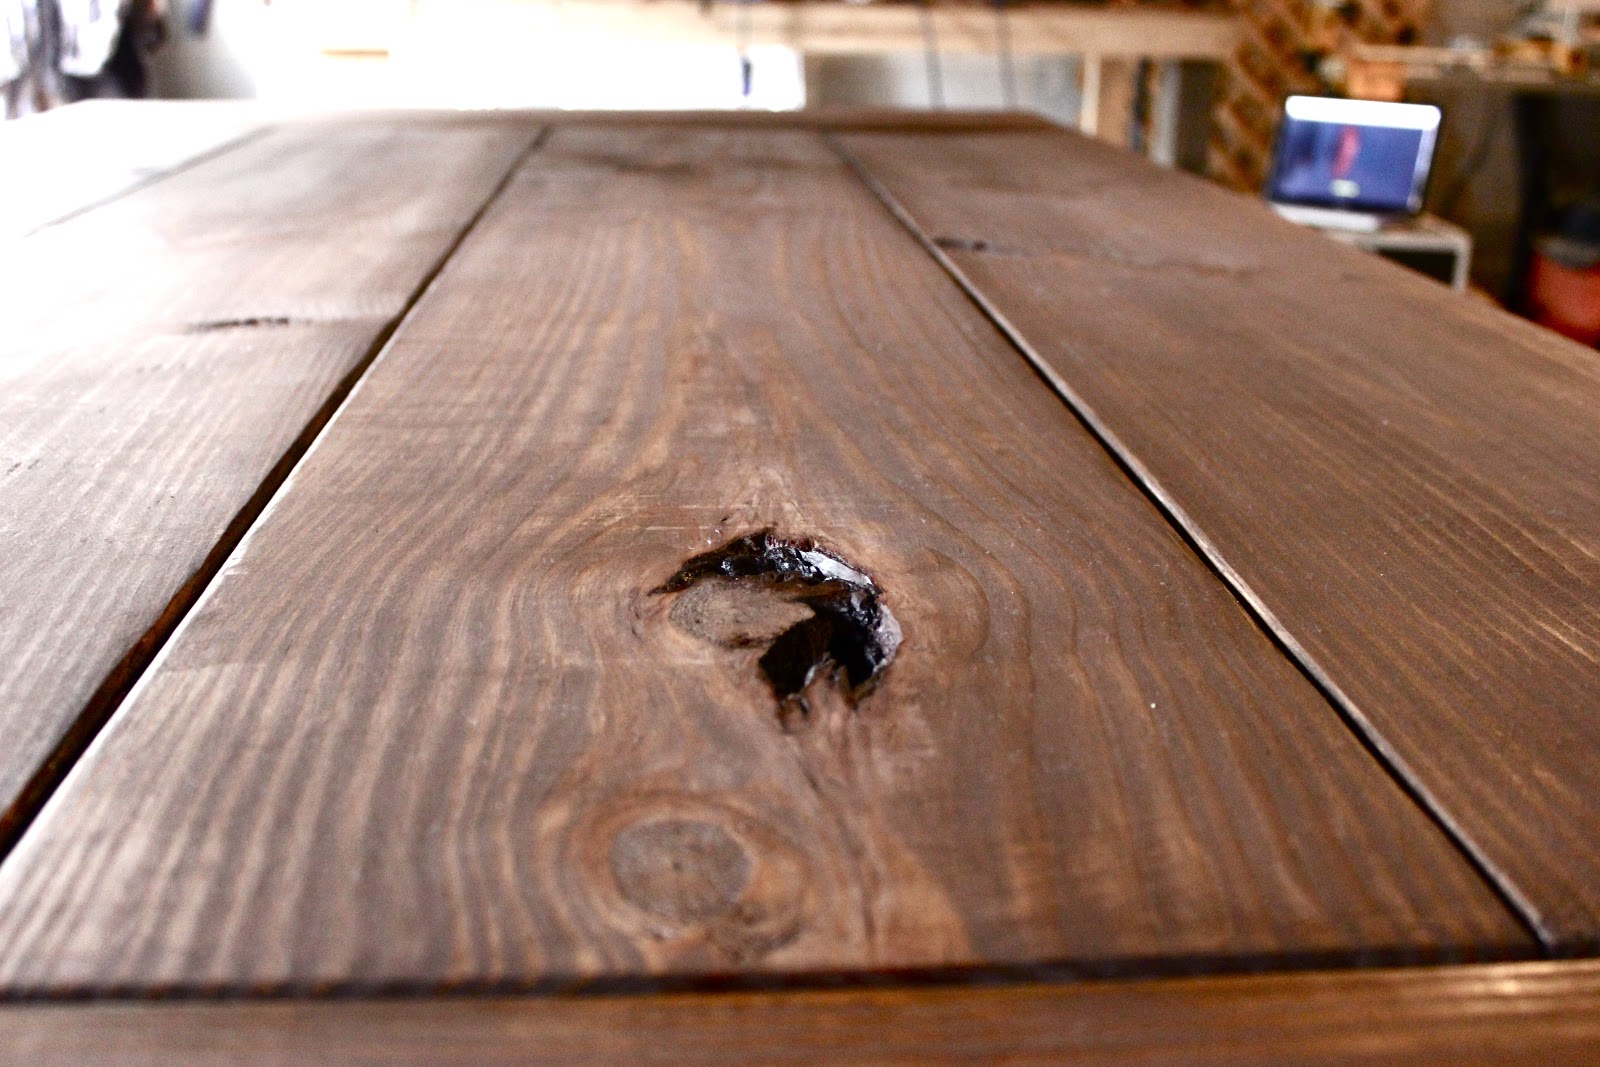
I spent the last two weeks painting....seriously! We were gifted an old Jenny Lind crib from my parents and it needed a little love. It is actually the crib that I slept in as a baby. I love the Jenny Lind style for a nursery, I just didn't realize how much work it would be to paint. It started out a nice oak color but I wanted to paint it white, shocker I know. I didn't want to sand the crib because it was old and I wasn't sure about lead so I just decided to start painting. 
Here is my only (lame) before shot.

I started by priming it with Rustoleum Universal spray paint in white. I wasn't getting good coverage with that and using a ton of spray paint to I nixed that method. I grabbed the Olympic Premium No VOC paint that we had from painting the trim and it had great coverage but was way more time consuming. So after two coats of spray paint and 3 coats of gloss paint I was finally happy with the coverage. I added a top coat of Safecoat Acrylaq in a gloss to help protect the paint from little scratchy nails. The acrylaq is water based so I figured it would be the best option for a crib and it has a nice hard finish. I'll tell you who seems to love it the most....

Look at that little peanut peeking through her new crib.

She is so happy with all that rolling around room. You must be asking, "where was she sleeping before?" Well....she was in a bassinet in our room until about 6 months and then we moved her into her room still in the bassinet. When she was FAR to big for the bassinet we moved her into the pack n play until I could finish the crib. I know I know....mother of the year over here. Good thing I implemented the no judging rule here at The Golden Peach.  

As far as crib accessories we have a little off white mesh bumper we picked up at Target, a Sealy soy bean mattress from Amazon, bite guards from Product America, and a second hand mobile. 

The rest of Amelia's room is still a work in progress. We have plenty of plans because our lists around here only seem to get longer.

As book lovers we want to make this wall like a mini library for Amelia. Brian is gonna make me some picture ledge shelves that we can use for our books. I like the look of having the book covers facing out. 


We don't normally have a blue
changing pad but someone had an accident on the our
other one and blue was all I had. 

We need some toy storage in the corner and some floating shelves above the changing table. I want to add some jars (probably mason) for her bows and other accessories.


On the wall opposite of the crib we are planning a little gallery wall. I have some great pictures and prints that need a home. We also need some curtains and wall paint. We haven't decided on a color but we are leaning toward either a light pink (very subtle)color or my usual grey would look nice too.
  

I am happy with the closet for now. As she gets older we will probably need a little more storage for her clothes but it is fine for now.

And last but not least, the face that keeps us motivated :)


Tuesday, April 16, 2013

Stick A Fork In It...

Ladies and Gentleman I can now say that our table is FINALLY done! It has been a long time coming (with a job and a baby) but it is done and she is a beaut. If you wanna look back you can see the first two posts here and here or you can scroll down and I'll take you on a trip down farmhouse table lane. 

We made the table out of pine mostly because of the price. I think the key was picking really great pieces of pine with a lot of character. We wanted it rustic but not beat up looking. We used anawhite.com for our design reference. 


After sanding the wood within an inch of its life I used a wood conditioner that really brought out the grain. We stained it using Sherwin Williams Walnut Wainscot (leftover from Brian's desk project). I didn't want it too dark so I would paint on the stain (using a foam brush) and Brian would wipe it right off. I loved it immediately. I almost wished we didn't have to add a poly because I loved it with just a stain. 


After A LOT of research about which finish to use we ended up using Mini Wax Polyurethane in Satin. We didn't want a gloss finish but wanted protection. Well I thought I loved it after the stain but it is SO much better with the poly finish. It brought out every detail and grain in the wood. The pictures don't really do it justice. We did two coats of poly with 24 hours and a sand in between each coat. 

love that knot


After taking a lot of measurements (45"wide, 84"long, 30"tall) we figured we could squeeze it through the doors (barely) without taking the legs off. After bribing some friends with pizza we had the muscle we needed. They got the table from the garage to the dining room with only a little sweat. Then we feasted! 


before and progress shots

the chairs are from our other table, just holding place for now

The table is done...whew. Now we need to find some chairs, build some floating shelves, decorate, and throw dinner parties of course!


Monday, April 8, 2013

Spray Paint 101

So I have been a little MIA lately. First we went out of town for Easter weekend and then I found myself feeling lazy with the rainy weather that came through Georgia. Well the weather has perked up and so have I. We were up late working on some small projects and I thought I would share this fun little update. 

When we moved into the house a few things came with it. We inherited a basketball hoop, a piano, some paint, a lot of wallpaper (ugh), and some other things that should be thrown away. I came across these plastic pots at the bottom of our porch. They were dirty (stained) full of bugs and dirt. I have been wanting pots for each side of the front door and these are a far cry from what I want. However, before tossing them I thought I might try a spruce up to see if it would do any good. 


First I cleaned them off. This didn't do too much because they were pretty weathered and stained. But it was a slight improvement. Not enough to put them by the front door though. 


I started with a primer using Rustoleum Universal white in satin. It has the primer built in and I wanted to see what they looked like with some white on. It looked way better with even a little primer on. 


For the final product I was going for a ceramic look. I used Rustoleum Universal Oil Rubbed Bronze which I also use on this project and it will probably become a staple around here. I think the finished product turned out great. It is reading really dark in the pictures but it has more of a bronze hue in person. 


I did two coats for good coverage. 

Right now they are on each side of the door looking a little naked. We have plans for some trees in them but this is where they will end up. For a couple of free pots that were garbage bound and a dash of spray paint I call this a successful spruce.